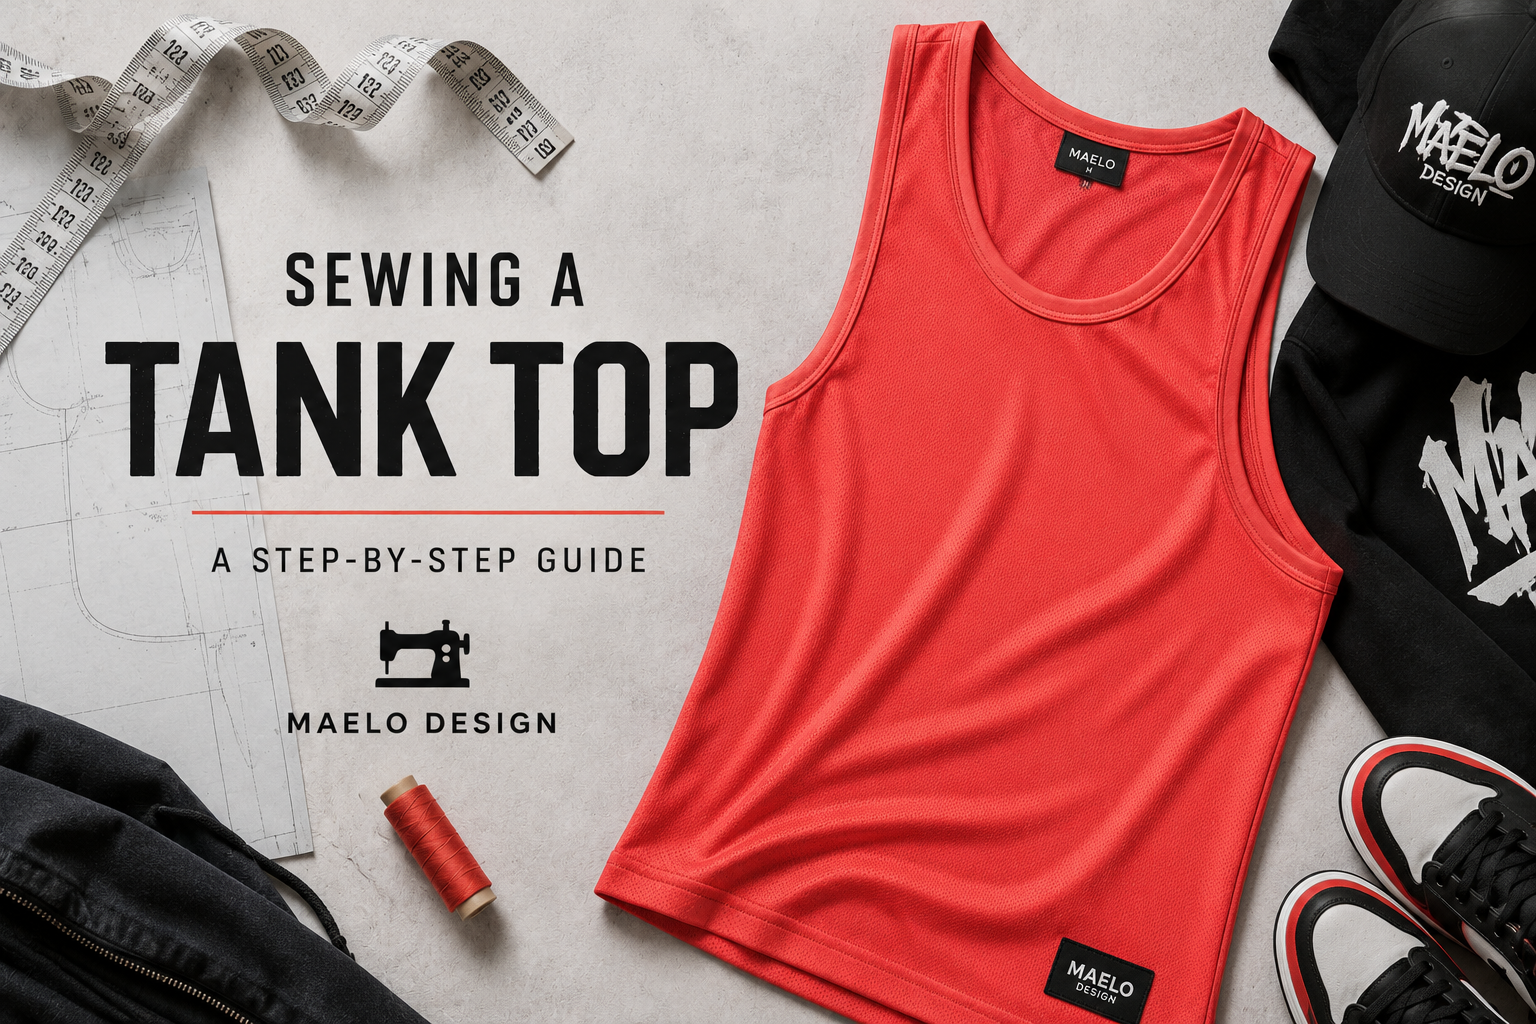
A tank has no sleeves and no collar, so it comes down to clean bindings at the neck and armholes. Maelo's tank modeler exports Body Front, Body Back, a Neck Binding and two Armhole Bindings — and, if you enabled them, side slits at the hem. Metric-first, with imperial in brackets.
At a glance
- Difficulty: beginner–intermediate (binding takes a little practice).
- Time: 1.5–2 hours once cut.
- Seam allowance: 1 cm (3/8"); bindings are applied at the seam line then wrapped.
- Stitch & needle: ballpoint/jersey needle; narrow zigzag or overlock; twin needle or zigzag for the hem.
Tools & materials
- Body Front and Body Back from your main jersey ("Cut on fold"). Cotton jersey, bamboo jersey, modal, or cotton-elastane blends all work well — aim for a medium-weight fabric with good stretch recovery.
- Neck Binding and two Armhole Bindings — self-fabric strips, each cut shorter than the edge they finish so the binding hugs the body instead of standing away from it.
1 · Shoulder seams
Join Body Front to Body Back at the shoulder straps, right sides together. Finish and press to the back. (Leaving one shoulder open is an option if you prefer to apply the neck binding flat, then close it last — but sewing both shoulders first creates a continuous neckline that gives the cleanest binding result.)
2 · Neck binding
- Join the Neck Binding into a loop and press the seam open. Fold it in half lengthwise, wrong sides together, and press the fold sharply.
- Quarter the binding and the neck opening; pin at the quarters with raw edges aligned to the right side of the neckline.
- Stitch all the way round, stretching only the binding — not the garment — between each set of pins. This distributes the tension evenly and prevents rippling.
- Finish the seam, then press the binding up and away, with the seam allowance fully enclosed inside. Topstitch close to the seam to hold it flat.
3 · Armhole bindings
Each armhole is finished the same way with its own binding loop: join, fold, quarter, pin, and stitch round. The key is where you apply the stretch — keep the binding almost relaxed along the shoulder straps, and concentrate the stretch around the deeper underarm curve. Stretching evenly all the way round causes the straps to curl or go wavy. Finish, press, and topstitch.
4 · Side seams, slits and hem
- Close each side seam, right sides together. If you enabled side slits, stop at the slit notch and leave the vent open below it.
- Turn the bottom hem up on its fold line and topstitch (twin needle or zigzag).
- If there are slits, make a narrow 1.5 cm (5/8") hem along the slit edges, pivoting 6 mm (1/4") above the notch for a reinforced corner.
Press the bindings flat and the hem crisp. With no sleeves or collar to hide behind, a tank lives or dies on even binding tension — take your time on the neck and armhole loops and it will look clean inside and out.
Common questions
Why are the binding pieces shorter than the neckline? The shorter length creates gentle tension that keeps the finished edge flat against the body. If the binding is the same length as the opening it will flare outward.
Can I sew this without a serger? Yes. A narrow zigzag or stretch stitch on a regular machine works for both construction and finishing.
Which fabric works best? Medium-weight jerseys with 30–50% stretch and good recovery give the cleanest results. Cotton jersey and cotton-elastane blends are reliable everyday choices.