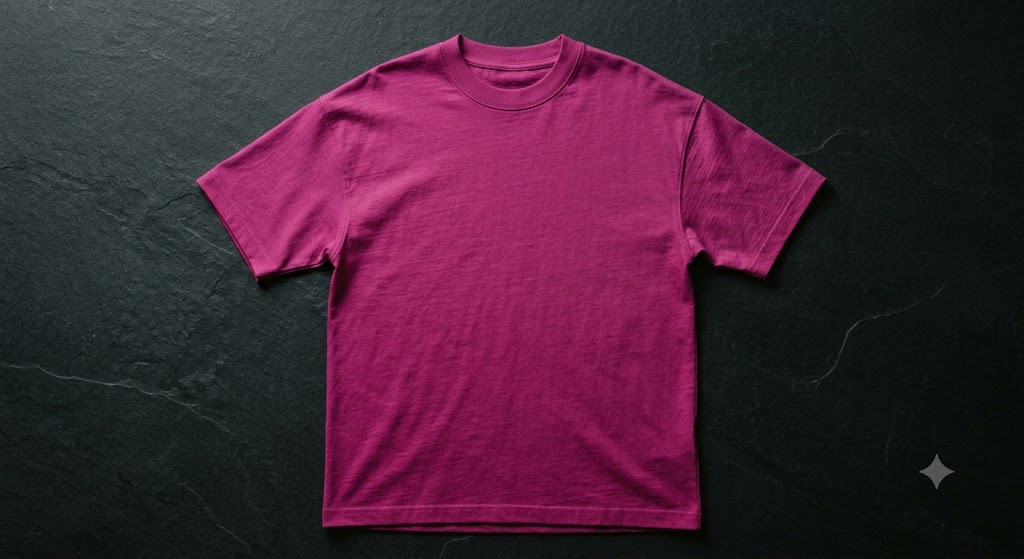
The drop-shoulder tee is the friendliest garment to sew — the sleeve sets in flat, with no cap ease to fight. This guide follows the pieces Maelo's drop-shoulder modeler exports: Body Front, Body Back and Sleeve, finished with a ribbed crew neckband. Metric-first, with imperial in brackets.
At a glance
- Difficulty: beginner.
- Time: 1.5–2 hours once cut.
- Seam allowance: 1 cm (3/8") throughout — Maelo draws a 1 cm allowance with a separate red cutting line.
- Stitch & needle: ballpoint/jersey needle; narrow zigzag or 3-thread overlock for seams; twin needle or zigzag for hems.
Tools & materials
- Body Front, Body Back and Sleeve, cut from your main jersey ("Cut on fold" for the body pieces). Cotton jersey, cotton-elastane jersey, bamboo jersey, or lightweight French terry all work well — aim for a fabric with 30–50% stretch and good recovery.
- A strip of rib for the neckband — cut to your Neck Rib spec. A good starting cut length is about 85–90% of the neck opening. The band is intentionally shorter than the neckline: as it stretches during sewing it pulls the edge flat, which stops the neckline from flaring outward after washing.
- Matching thread.
1 · Shoulder seams
With right sides together, join Body Front to Body Back at the shoulders. Finish the allowances together and press towards the back. Leave the neckline open all the way round for the band. Sewing the shoulders first stabilises the neckline, so the rib band goes on evenly without pulling the body out of shape.
2 · Rib neckband
- Join the short ends of the rib strip into a loop (right sides together), and press the seam open.
- Fold the loop in half lengthwise, wrong sides together, and press — raw edges aligned.
- Quarter both the band and the neck opening with pins. Pin the band to the right side of the neckline at those quarter points — the band is smaller, so it will stretch to fit.
- Stitch with the band on top, stretching it gently to match the neckline between pins. Do not stretch the garment. Finish the allowance and press it down into the body.
3 · Set the sleeves (flat)
Because the shoulder is dropped, the sleeve head is shallow and sets in flat — there is no cap to ease. With the garment opened out flat, pin the sleeve to the armhole edge, matching notches, then stitch. Finish and press towards the sleeve. The shoulder seam sits some way down the arm: unlike a classic tee, the seam intentionally extends past the natural shoulder line, which creates the relaxed drop-shoulder silhouette and is also what makes the sleeve so straightforward to attach.
4 · Side seams and underarm
Fold the garment right sides together. Pin Front to Back at the sides and pin the sleeve underarm edges together, matching the underarm seam precisely — a misaligned underarm intersection twists the sleeve and shows on the outside. Stitch one continuous seam from the sleeve opening down to the hem. Finish the allowances together and press towards the back.
5 · Hems
Turn the sleeve openings up on their fold line and topstitch (twin needle or zigzag). Do the same for the bottom hem, all the way round. Press.
A final press of the neckband and hems and you are done — the simplest tee in the range, and the best one to learn the rib neckline on. Once you are comfortable with the flat sleeve, the set-in version in How to Sew a Regular T-Shirt is the natural next step.