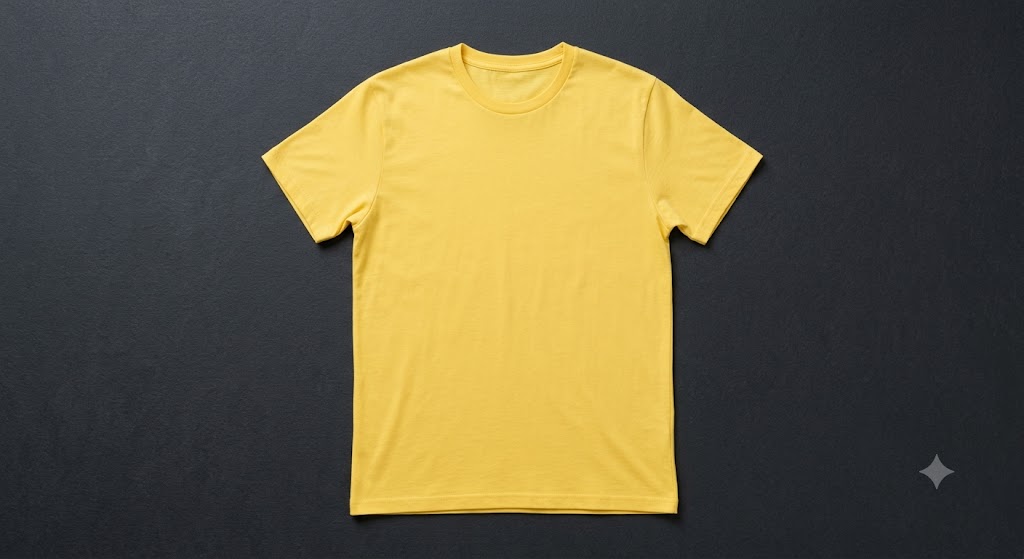
The regular tee is the drop-shoulder's tailored cousin: the same body and rib neckband, but a true set-in sleeve with a shaped cap that needs easing into the armhole. If you have not sewn a tee before, the flat-set drop-shoulder version is an easier starting point. Maelo's regular-tee modeler exports Body Front, Body Back, Sleeve and a Neck Rib strip. Metric-first, with imperial in brackets.
At a glance
- Difficulty: beginner–intermediate (the sleeve cap is the only fiddly part).
- Time: 2–2.5 hours once cut.
- Seam allowance: 1 cm (3/8") throughout.
- Stitch & needle: ballpoint/jersey needle; narrow zigzag or overlock; twin needle or zigzag for hems.
Tools & materials
- Body Front, Body Back and Sleeve from your main jersey. Cotton jersey, cotton-elastane jersey, bamboo jersey, or modal jersey all work well — aim for a fabric with 30–50% stretch and good recovery.
- A rib strip for the neckband (cut to the Neck Rib spec, ~85–90% of the neck opening). The band is cut shorter than the neckline so it pulls the edge flat as it stretches during sewing, which stops the neckline from flaring outward after washing.
- Matching thread.
1 · Shoulder seams
Join Body Front to Body Back at the shoulders, right sides together. Finish and press to the back. Leave the neckline open.
2 · Rib neckband
- Join the short ends of the rib strip into a loop, right sides together, and press the seam open.
- Fold the loop in half lengthwise, wrong sides together, and press — raw edges aligned.
- Quarter both the band and the neck opening with pins. Pin the band to the right side of the neckline at those quarter points — the band is smaller, so it will stretch to fit.
- Stitch with the band on top, stretching it gently to match the neckline between pins. Stretch only the rib band, not the garment. Finish the allowance and press it down into the body.
3 · Set-in sleeves — ease the cap
Unlike the drop shoulder, the sleeve cap is longer than the armhole on purpose, so it curves over the shoulder. The difference is the ease, and it is removed by gently distributing it, never by pleating.
- Sew a long basting row just inside the seam line across the top of the cap. Pull the bobbin thread slightly to draw the cap in until it matches the armhole.
- With right sides together, pin the sleeve into the armhole, matching the cap notch to the shoulder seam and the front/back notches. Distribute the ease evenly — no tucks.
- Stitch with the sleeve side down — the feed dogs help ease the cap naturally as you sew. Then stitch again 6 mm (1/4") inside for durability. Finish and press towards the sleeve. If small puckers remain after stitching, a little steam and gentle pressing usually relaxes them completely.
4 · Side seams and underarm
Right sides together, pin Front to Back at the sides and the sleeve underarm edges, matching the underarm seam. Stitch one continuous seam from sleeve opening to hem. Finish and press to the back.
5 · Hems
Turn the sleeve openings and the bottom hem up on their fold lines and topstitch with a twin needle or zigzag. Press.
Press the neckband, sleeve heads and hems. The set-in sleeve is what makes this read as a more finished tee than the drop shoulder — the cap ease is worth the extra few minutes.